FDM vs Resin 3D Printer Comparison vs Machining: A Procurement Manager’s Kennametal Tooling Perspective
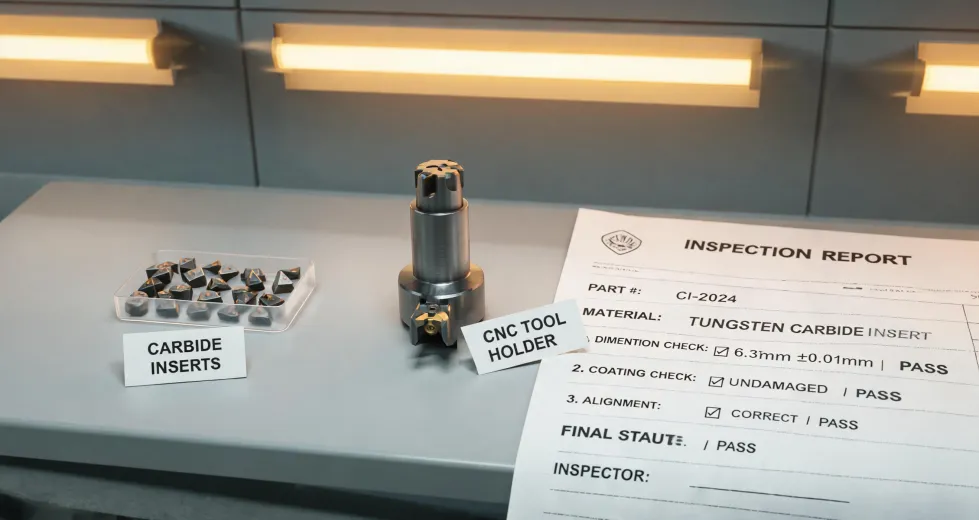
In 2019, I moved from the machine floor to the purchasing office at the same 45-person custom machining shop. Six years and roughly $700,000 in approved tooling and prototyping purchases later, I’ve stopped thinking about “CNC vs 3D printing” as a technology debate. It’s a cost debate.
We order Kennametal tooling most weeks—carbide boring bars, turning inserts, end mills. We also bought an FDM printer and a resin printer in 2022 for fixtures, soft jaws, and customer fit-checks. So this isn’t a blog post written from spec sheets. The FDM vs resin 3D printer comparison below is based on purchase orders and actual shop-floor results.
What This Comparison Is Really About
Let me define the two routes clearly. Route A is machining: put a bar in the lathe or a block on the mill, and cut it with carbide tooling from Kennametal. Route B is additive: print the part on a 3D printer. Route B then splits into FDM or resin, and that choice matters more than most people think.
I’ll compare these routes across three dimensions: cost per good part, tolerance and material capability, and the risk of rework. I’ll give you a clear conclusion in each section. Some of those conclusions surprised me when the data came in.
1. Cost per Good Part: The Chart That Never Lies
Let’s use a common job from our shop: a 6061 aluminum mounting adapter, quoted in batches of 100 pieces. The machined version was $32.40 per part, and our tooling cost per finished part was less than $1.10. That tooling cost included a Kennametal turning insert and a 1/4 3-flute end mill used for profiling. The printed version of the same geometry might use $4 to $6 of resin and a few hours of unattended printer time—but it would be a plastic model, not a functional aluminum adapter. If the customer needs metal, the 3D printer isn’t competing. It’s just making a toy.
The real FDM vs resin competition shows up on internal work, not production parts. When we compared the two printers for small drill jigs, inspection fixtures, and prototype brackets, the raw numbers looked odd. FDM filament costs roughly a third less than resin by weight. But our cost-per-good-part told a different story. FDM parts failed more often on small features, needed sanding or rework, and consumed operator time before they were usable. Resin printed cleaner details, fewer failures, and almost no post-processing for holes under 1/4 inch.
I should add a scope note: this conclusion assumes the part fits on a desktop resin build plate. If you need a large, rough fixture that is 12 inches long, FDM wins because of build volume. For small precision shop aids, resin wins on cost per successful part.
2. Tolerance, Material, and Why a Carbide Boring Bar Is Hard to Argue With
This is where the comparison stops being philosophical. We bore holes every week that need to hold 0.0005 inch or better. A resin printer cannot do that. An FDM printer certainly cannot do that. But a Kennametal carbide boring bar, set up correctly in the lathe, does it all day.
I’ll admit the carbide boring bar was not the cheapest option on the quote. A steel bar would have cost less. But our first attempts with a cheaper bar produced chatter marks, and chatter means scrap. The carbide bar is roughly three times as rigid as steel for the same diameter, which makes it easier to hold size and surface finish. When I calculated the cost of the two scrapped parts plus the extra cycle time, the carbide bar paid for itself in one job.
The same logic applies to end mills. We standardized on a 1/4 3-flute end mill from Kennametal for aluminum profiling work. A 2-flute end mill clears chips well but deflects more; a 4-flute end mill is stiffer but clogs in long slots. The 3-flute design is the awkward middle child that actually works best for our mix of work. It wasn’t the cheapest option, but it broke less and cut faster.
This is also where carbide cutter insert replacements get dangerous. People hear the term “carbide cutter insert replacements” and assume any insert with the same shape fits in the same holder. The shape may fit, but the grade and chipbreaker may be completely wrong for the material you’re cutting. ISO 513 divides carbide grades into application groups, and Kennametal publishes recommendations for each group. If you buy a no-name replacement insert without checking that application group, you’re gambling with setup time and part quality. That gamble usually loses.
3. Risk, Rework, and the Cheapest Insurance in the Shop
One of my biggest regrets happened in 2023. We had a rush order, and I skipped the usual check against the Kennametal turning catalogue PDF before ordering a replacement insert grade. I assumed the new grade would behave like the previous one. It didn’t. The edge broke after a short run, we scrapped a batch of expensive parts that had already been machined, and the rework cost more than the insert profit on the whole job.
They warned me about that when I started in procurement. I didn’t listen until I paid for it. Now every new insert or boring bar setup gets the same treatment: open the Kennametal turning catalogue PDF, check the starting speeds and feeds, and confirm the grade matches the workpiece material. Five minutes of checking beats five days of correction.
Printers have the same pattern. Our FDM printer produced terrible first layers one week because the filament had absorbed moisture. Our resin printer failed prints when the exposure time was not adjusted after changing resin bottles. Both problems were preventable. Now we check the filament dryness, printer calibration, and resin settings before every critical print. It feels like unnecessary bureaucracy until the first failed print costs you an entire day.
I have mixed feelings about recommending resin printers to job shops. They are messy, they require careful handling, and the resin shelf life is annoying. But the quality of small printed details is so good that the resin printer has become the more useful machine for our prototyping work. I don’t love saying that, because the FDM printer was easier to justify in the budget meeting. The purchase order history tells the truth, though.
What I Would Buy Again Today
If I started over with our current mix of work, the decision would look like this:
- For production metal parts, I would buy the CNC tooling first—Kennametal carbide boring bars, turning inserts, and end mills—and use 3D printing only for prototypes or sacrificial fixtures.
- For small plastic prototypes and precise fit-check parts under about 6 inches, I would buy a resin printer, not FDM.
- For large rough fixtures, FDM is still the right call because of build volume and lower material cost.
My experience is based on roughly 200 production orders in steel, stainless, and aluminum. If you’re cutting aerospace superalloys or running 10,000 parts per month, your trade-offs will be different. But the thought process stays the same: calculate cost per good part, check the tolerance and material reality, and prevent rework before it happens.
And if you’re replacing inserts or setting up a new boring bar, download the Kennametal turning catalogue PDF first. It’s free, it’s specific, and it has saved me more money than any discount code ever did.